

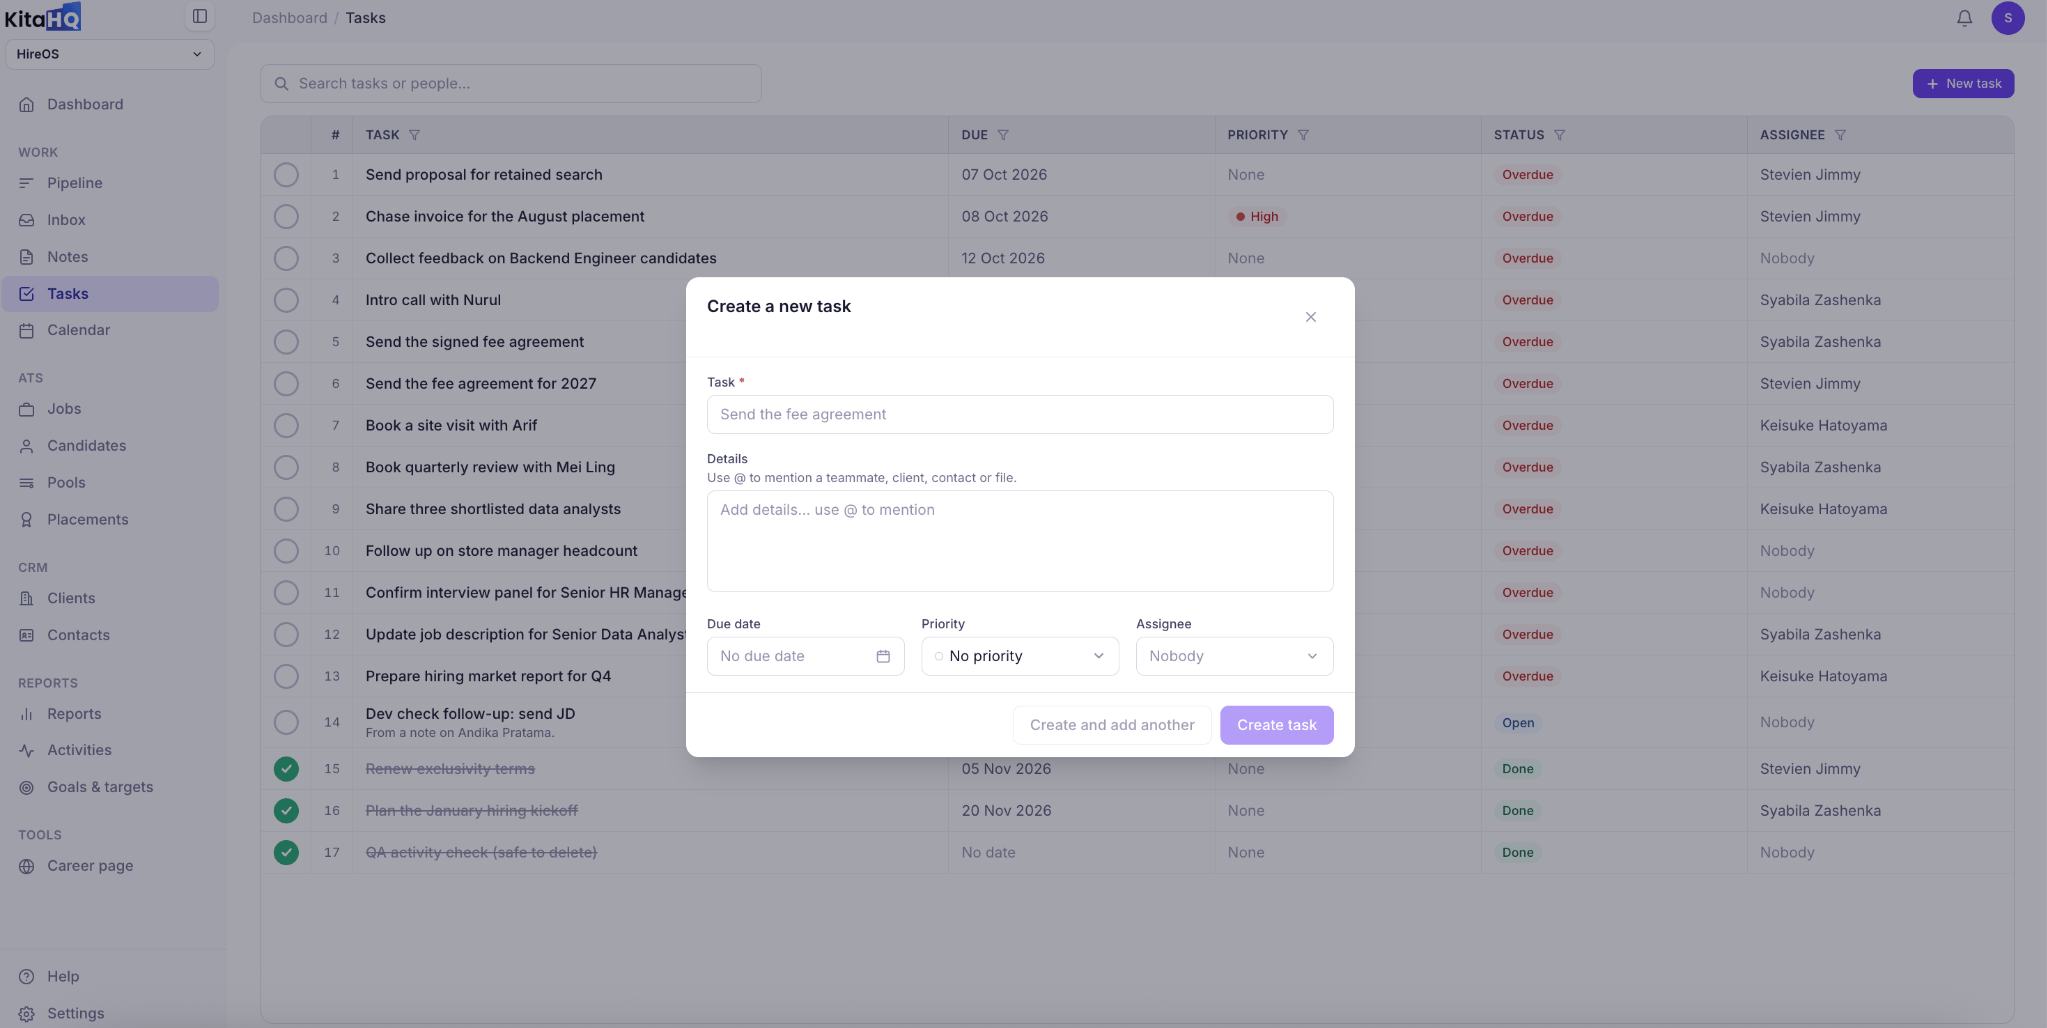
View Your Tasks
Navigate to Tasks from the left sidebar under Work to view and manage tasks across your team. Each task is displayed with the following information:| Column | Description |
|---|---|
| Task | The task title and a brief description of what needs to be done. |
| Due | The deadline for completing the task. |
| Priority | The task’s priority level. |
| Status | Whether the task is open, overdue, or completed. |
| Assignee | The team member responsible for completing the task. |
Create a New Task
1
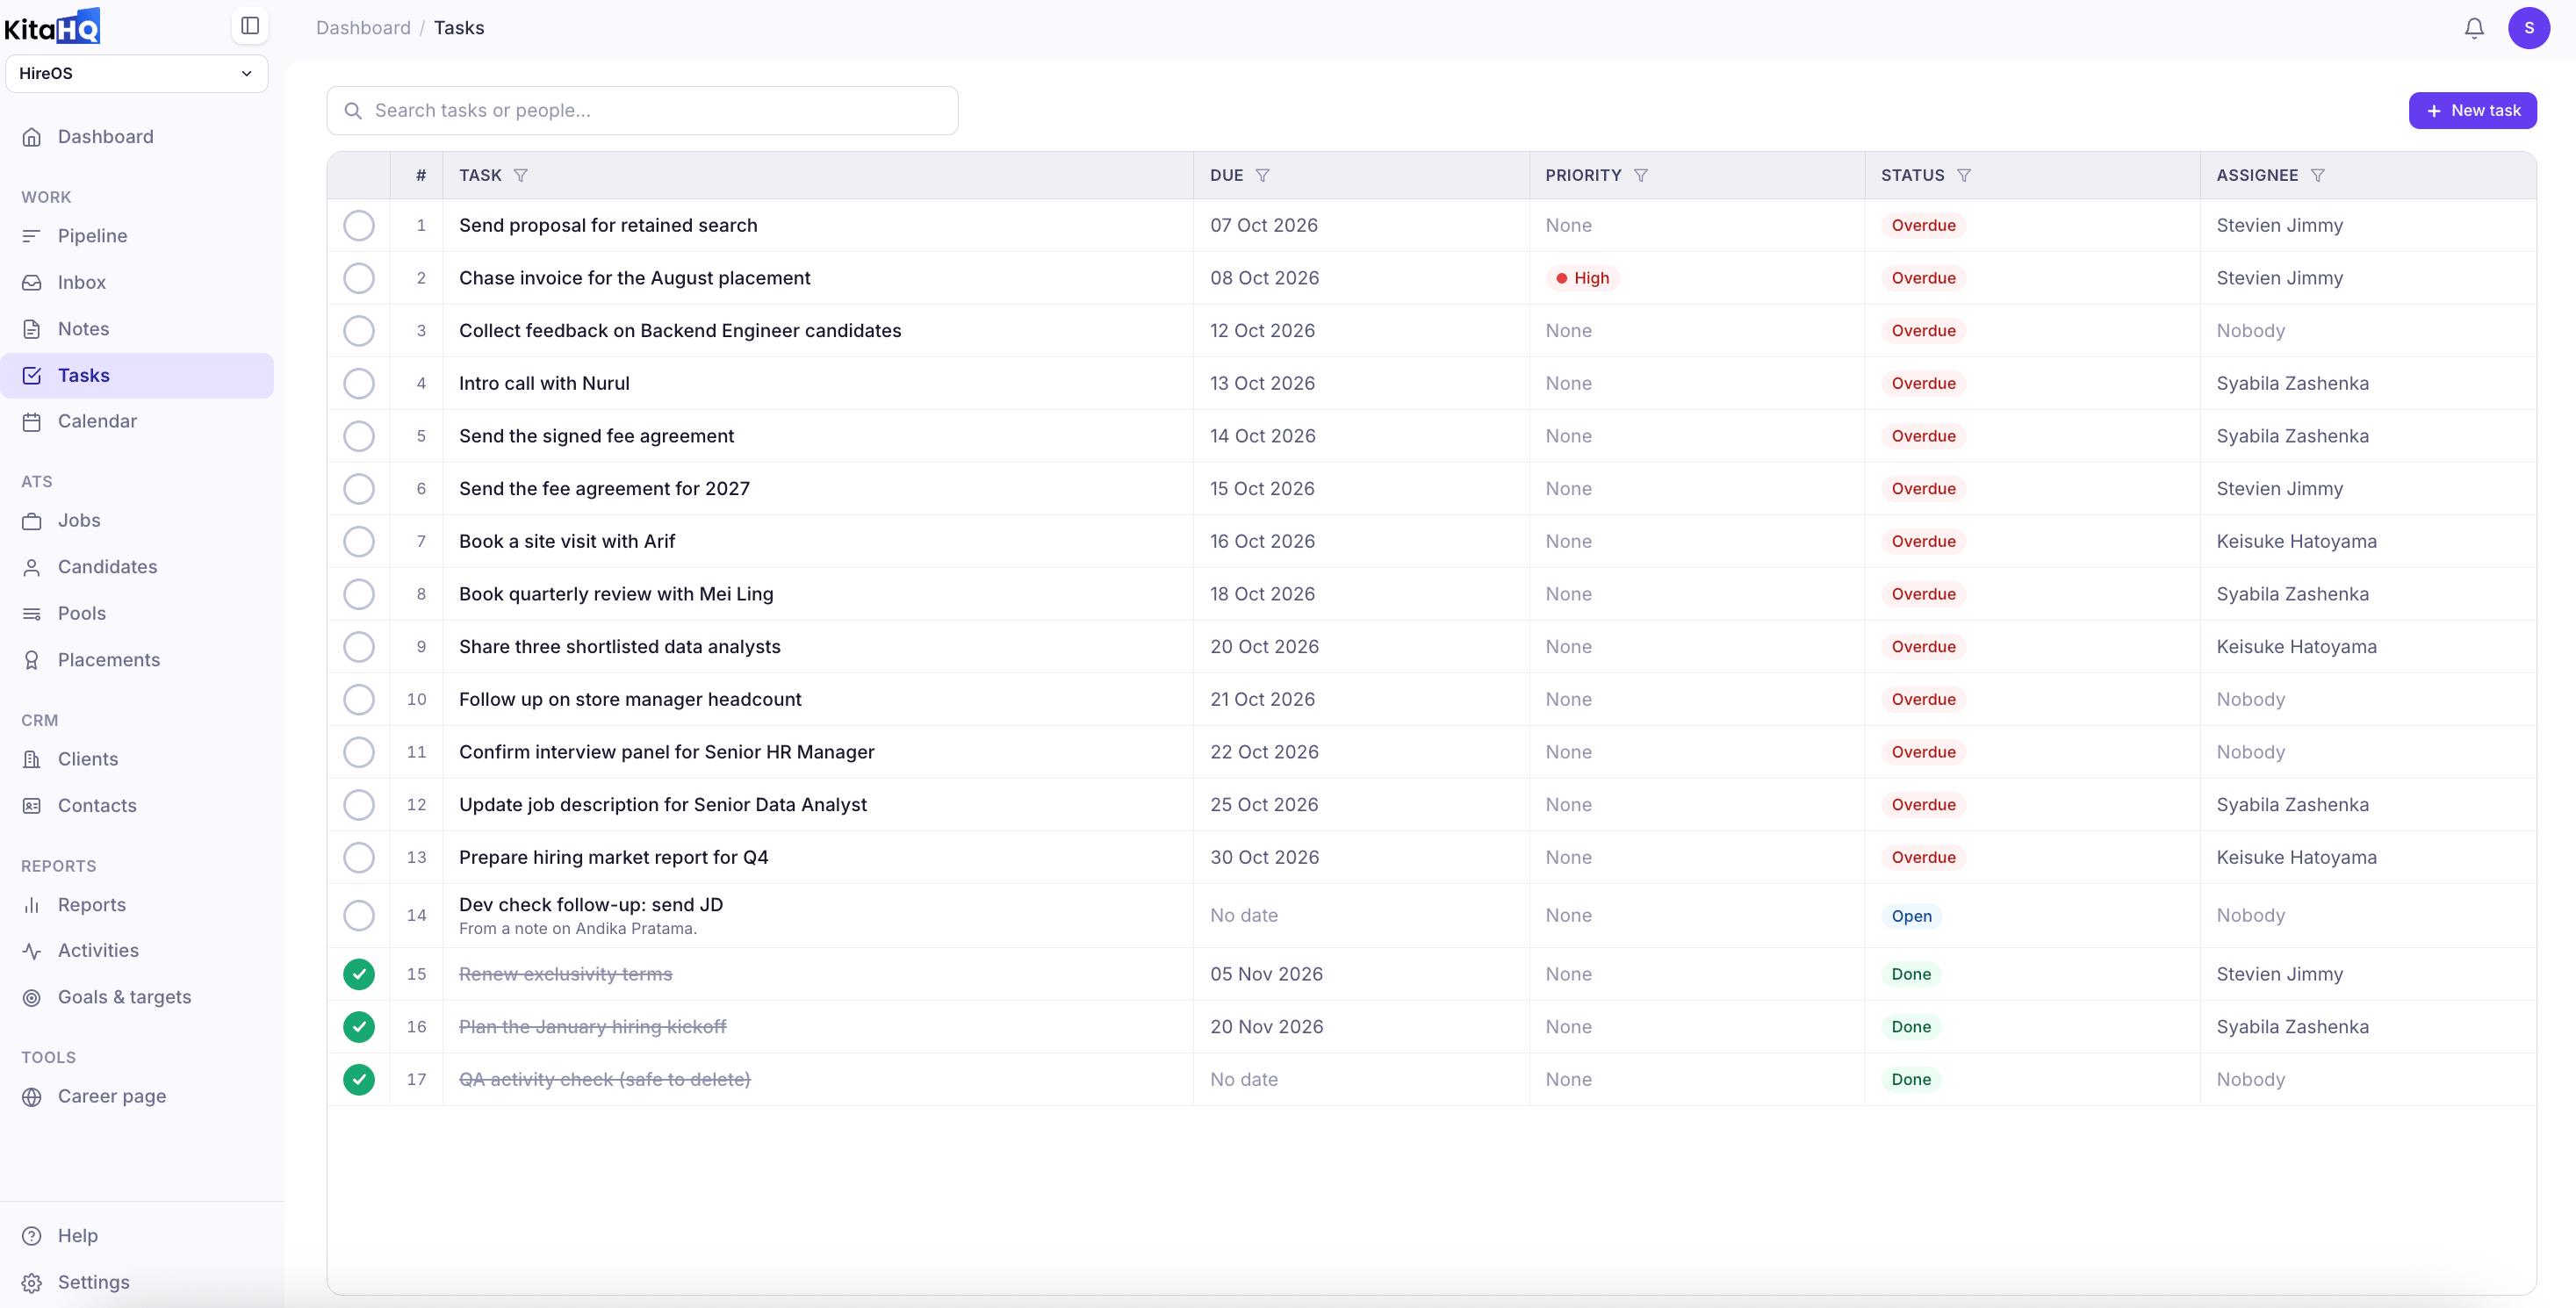
Navigate to Tasks from the left sidebar.
2
Click + New Task in the top-right corner.
3
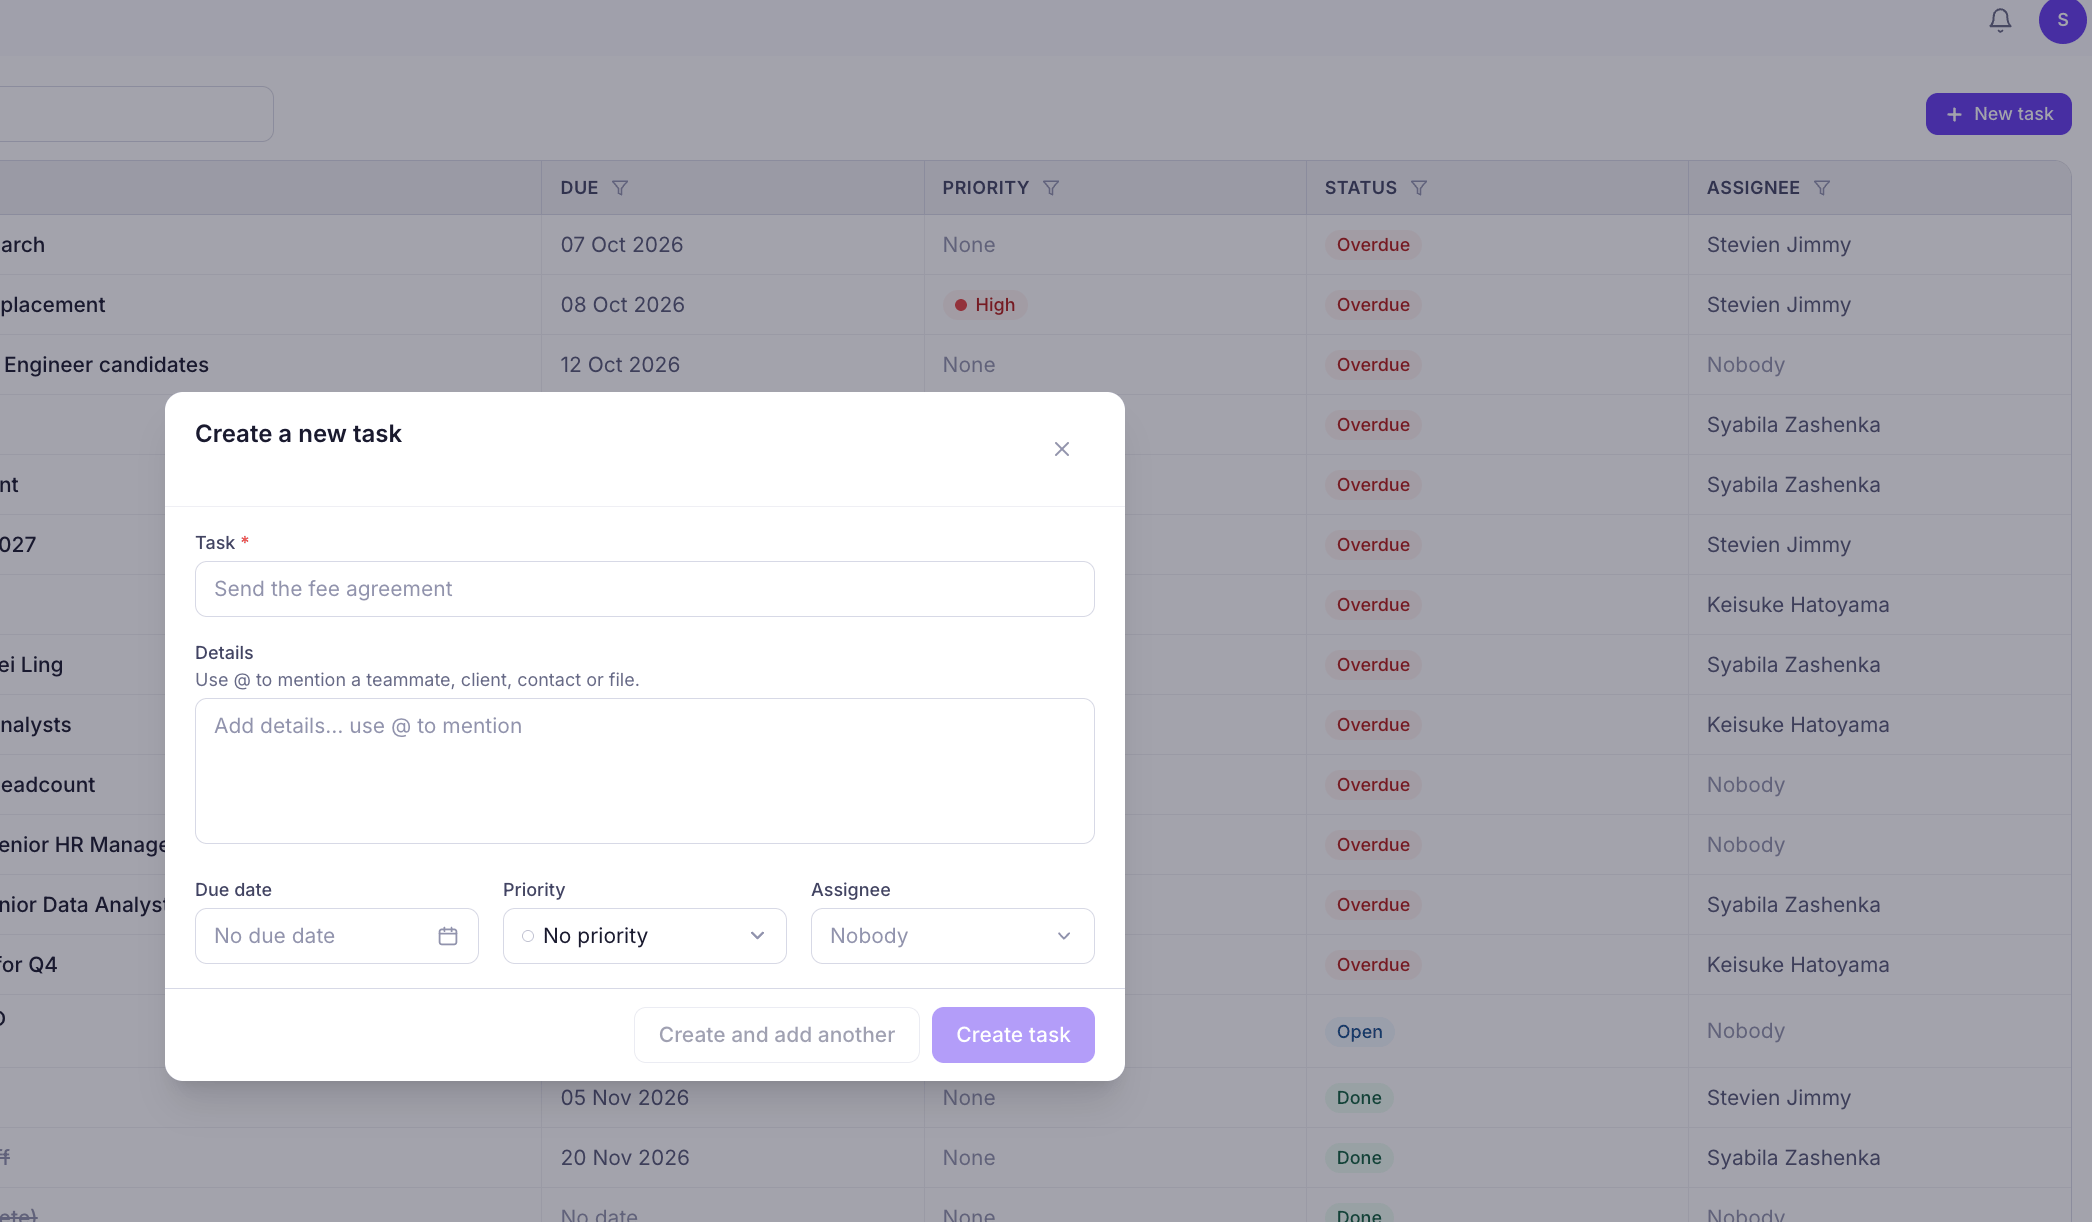
Enter a Task Title, such as "Follow up with shortlisted candidates."
4
Add additional context in the Details field. Type @ to mention a teammate, client, contact, or file.
5
Set a Due Date for when the task should be completed.
6
Choose a Priority and assign the task to a team member.
7
Click Create Task to save it, or Create and Add Another to create multiple tasks.
Set Due Dates, Priorities, and Assignees
When creating a task, you can customize the following fields:- Due Date: Set a deadline to keep track of when the task needs to be completed.
- Priority: Choose a priority level to distinguish urgent tasks from regular follow-ups. Tasks can also be created without a priority.
- Assignee: Assign the task to a team member responsible for completing it, or leave it unassigned.
Track Task Status
KitaHQ displays task statuses to help you identify which tasks need attention.- Open: The task has not yet been completed.
- Overdue: The task is incomplete and its due date has passed.
- Done: The task has been completed.
Search and Filter Tasks
Use the search bar at the top of the Tasks page to find a specific task or person. You can also filter tasks by:- Due Date: Find tasks based on their deadlines.
- Priority: Focus on tasks according to their urgency.
- Status: View open, overdue, or completed tasks.
- Assignee: Review tasks assigned to specific team members.
Create Follow-up Tasks from Notes
You can also create tasks directly when adding a note to a candidate, client, contact, or other record.- Open the relevant record and click Add Note.
- Enter the note details.
- Click + Add Follow-up Task.
- Enter the follow-up details and save.